使用NetlifyCMS在线编辑Github上的博客

Netlify CMS 介绍

使用Netlify CMS我感觉有以下优点:

  • 无缝支持Hexo 等十几种主流静态网站生成器 的 文章后台管理*
  • 可视化在线编辑、新增github 上的markdown
  • 自带图片上传功能
  • 自动部署

支持列表:
Jekyll, GitBook,Hugo, Gatsby, Nuxt, Next, Gridsome, Zola,Hexo, Middleman, Jigsaw,Spike ,Wyam,Pelican,VuePress,Elmstatic,11ty,preact-cli

为什么使用它

对于我的情况:使用Hexo 网站生成器,托管在github上 https://github.com/Troy-Yang/troy-yang.github.io,其中Source branch是存放markdown等生成前分支,Master branch存放的是生成后的静态文件分支。
对于以前,如果要写一篇文章,基本是在source 分支里,新增一个markdown文件(可github上在线添加或者本地新增然后push),然后自动触发github 上配置的travis 自动部署流程,整体感觉已经很不错了。现在配置上Netlify CMS后, 可视化的在线编辑以及图片管理更加方便,可以随时随地发文章。
可惜, Netlify有个致命缺点:需要翻墙访问

HEXO NetlifyCMS 配置

只需要在hexo 的source/ 目录下添加admin 目录,新增下面两个文件:

1
2
config.yml
index.html

config.yml需要根据自己情况进行配置:

1
2
3
4
5
6
7
8
9
10
11
12
13
14
15
16
17
18
19
20
21
22
23
24
25
backend:
name: git-gateway
branch: Source

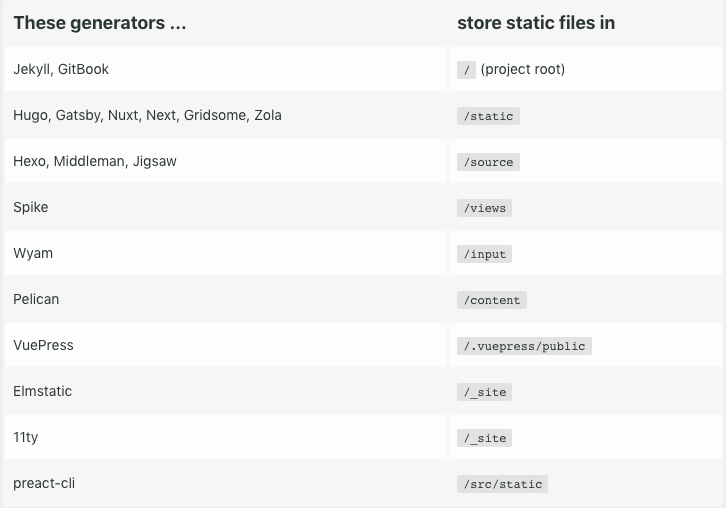
# This line should *not* be indented
media_folder: "source/images/uploads" # Media files will be stored in the repo under images/uploads
public_folder: "/images/uploads" # The src attribute for uploaded media will begin with /images/uploads

collections:
- name: "blog" # Used in routes, e.g., /admin/collections/blog
label: "Post" # Used in the UI
folder: "source/_posts" # The path to the folder where the documents are stored
create: true # Allow users to create new documents in this collection
slug: "{{slug}}" # Filename template, e.g., YYYY-MM-DD-title.md
fields: # The fields for each document, usually in front matter
- {label: "Layout", name: "layout", widget: "hidden", default: "post"}
- {label: "Title", name: "title", widget: "string"}
- {label: "Publish Date", name: "date", widget: "datetime"}
- {label: "Tags", name: "tags", widget: "list", required: false}
- {label: "Categories", name: "categories", widget: "list", required: false}
- {label: "Photos", name: "photos", widget: "list", required: false}
- {label: "Excerpt", name: "excerpt", widget: "string", required: false}
- {label: "Body", name: "body", widget: "markdown"}
- {label: "Permalink", name: "permalink", widget: "string", required: false}
- {label: "Comments", name: "comments", widget: "boolean", default: true, required: false}
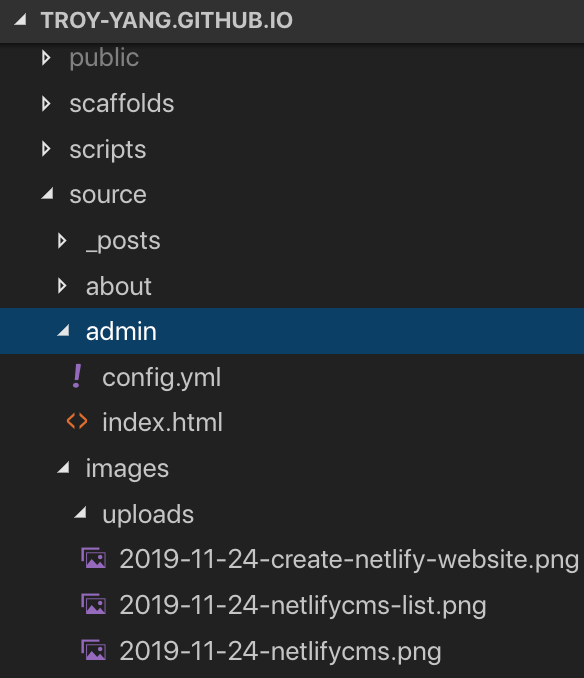
index.html

1
2
3
4
5
6
7
8
9
10
11
12
13
<!doctype html>
<html>
<head>
<meta charset="utf-8" />
<meta name="viewport" content="width=device-width, initial-scale=1.0" />
<title>Content Manager</title>
</head>
<body>
<!-- Include the script that builds the page and powers Netlify CMS -->
<script src="https://unpkg.com/netlify-cms@^2.0.0/dist/netlify-cms.js"></script>
<script src="https://identity.netlify.com/v1/netlify-identity-widget.js"></script>
</body>
</html>

Netlify 端配置

创建 Netlify website

注意:和大部分人的做法不同的是,我Deploy到的地方并不是托管在Netlify自己的平台上,而是github上,所以这里我选择部署的是Source分支,而不是Master,因为我只是想要Netlify去修改我的Source分支,然后触发Travis自动发布到Master分支。

但是我依旧需要填写Netlify的部署,因为Netlify会自动帮我创建域名为troyyang.netlify.com的网站,任何我Source分支上的修改也会触发这个网站的自动部署

开启Netlify Identity 和 Git Gateway

在Setting 的 Identity选项下:

  1. Enable Identity service
  2. External providers 新增github
  3. Enable Git Gateway

发布测试

打开 https://troyyang.netlify.com/admin/ 然后使用github Oauth登录即可看到:

新增文章后, 你会发现github 上的source目录下的_post 目录的markdown 文件新增了,如果上传了图片,也会看到source目录下多了images/upload目录,同时https://troyyang.netlify.comhttps://troyyang.com 下也自动发布了新的文章, 两者都是因为Source分支里新增了文件导致的自动部署。


问题

当我尝试打开 https://troyyang.com/admin/ 使用github Oauth登录时,结果报错,而https://troyyang.netlify.com/admin/则没有:

1
Failed to load settings from /.netlify/identity

我怀疑是因为https://troyyang.com是托管在github上,而不是netlify上导致的。

Enjoy!

本文由http://troyyang.com原创编写,转载请尽量保留版权网址,感谢您的理解与分享!
Top